Oct 9, 2026Material Guides
Black Specks, Flow Marks and Color Streaks: A Plastic Resin Troubleshooting Checklist
Troubleshoot black specks, flow marks and color streaks in molded plastic parts. Use this buyer and processor checklist before changing resin grades or suppliers.
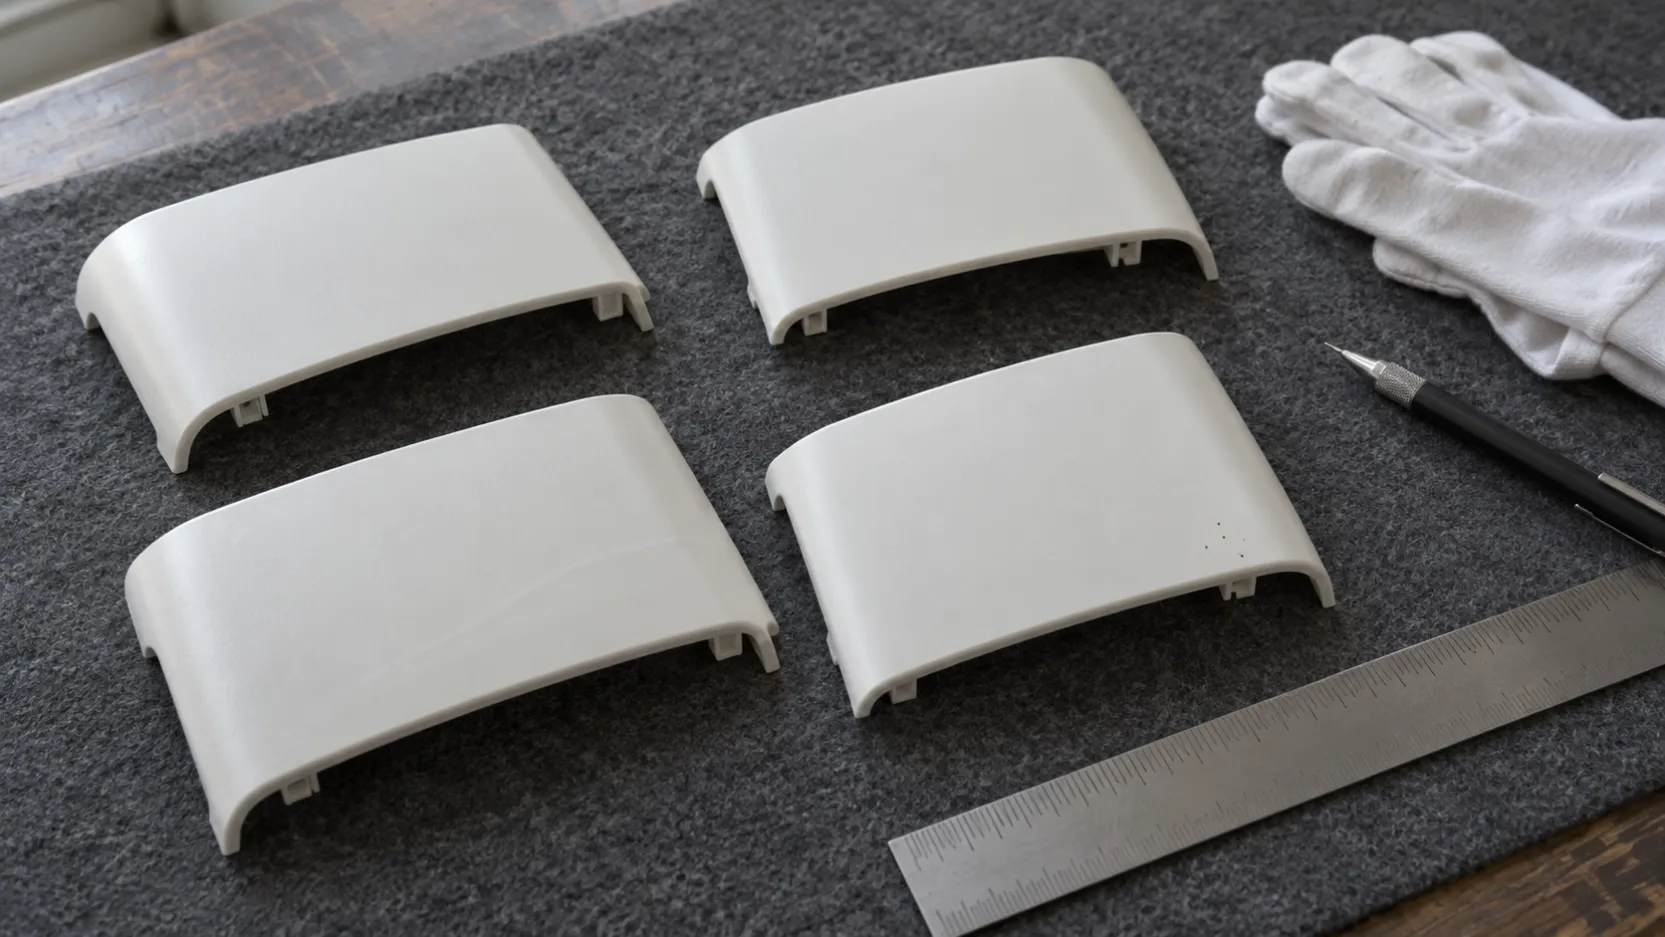
When black specks, flow marks or colour streaks appear in plastic parts, the resin is often blamed first. Sometimes the material is involved—but not always.
The visible defect may originate from storage, drying, handling, masterbatch, mold condition, processing settings or contamination somewhere in the production line. Changing suppliers without identifying the source can create additional cost without solving the problem.
Use this checklist before you change resin grade or submit a quality claim.
1. Black Specks: Check for Contamination and Degradation
Black specks can be linked to several possible sources:
- Contamination in resin handling or conveying equipment
- Material left in the barrel or dead spots in the melt path
- Degraded residue from a previous production run
- Contamination from regrind
- Foreign pellets, dust or packaging debris
- Excessive residence time or unsuitable processing conditions
Start by retaining defective samples and comparing them with the production batch, purge material and incoming resin appearance.
2. Flow Marks: Review the Full Process, Not Just the Resin
Flow marks may be related to resin flow behavior, but mold design and process stability can also be important.
Review:
- Gate location and flow length
- Mold-surface condition
- Melt and mold temperatures
- Injection speed and holding pressure
- Wall-thickness changes
- Venting condition
- Moisture control
Ask whether the defect appears at a consistent location. A repeated defect pattern often provides more useful information than a general statement that “the material has poor flow.”
3. Color Streaks: Trace Every Material Input
Colour streaks can occur when the base resin, masterbatch, additive package or previous material is not fully controlled.
Check:
- Masterbatch ratio and feeding accuracy
- Mixing consistency
- Colour-change cleaning procedure
- Regrind separation
- Hopper and conveyor cleanliness
- Storage conditions
- Batch-to-batch colour standard
For appearance-sensitive parts, agree on a master sample or measurable colour standard before bulk production.
4. Compare the COA With the Actual Production Batch
Before making a claim, collect:
- Resin grade and batch number
- Current COA
- Production date
- Packaging condition on arrival
- Photos of the resin before processing
- Drying record
- Processing settings
- Defect photos and defect rate
- Retained samples from both good and defective production
This information helps distinguish a raw-material issue from a process or equipment issue.
5. Review Storage and Handling Conditions
Even a suitable resin can create problems if it is exposed to moisture, dust or mixed with another material during storage.
Confirm that:
- Bags remain sealed until use
- Opened material is identified and protected
- Conveying lines are cleaned between grades
- Regrind is separated and controlled
- Feed hoppers and dryers are maintained
- Warehouse handling prevents bag damage and contamination
6. Change Only One Variable at a Time
When troubleshooting, avoid changing the grade, dryer setting, mold temperature and masterbatch at the same time. If multiple variables change together, the real cause becomes difficult to identify.
Use a controlled trial and record every adjustment.
Final Takeaway
Black specks, flow marks and colour streaks are quality signals—not automatic proof of a resin problem. A documented review of the material, equipment, handling and process conditions is the fastest way to identify the real cause.
Request a Resin Quality Review
Lema Plastic can help buyers review batch documentation, grade suitability, packaging requirements and defect information before placing the next order. Send your defect photos, current grade, COA, processing method and destination market for a practical review.